
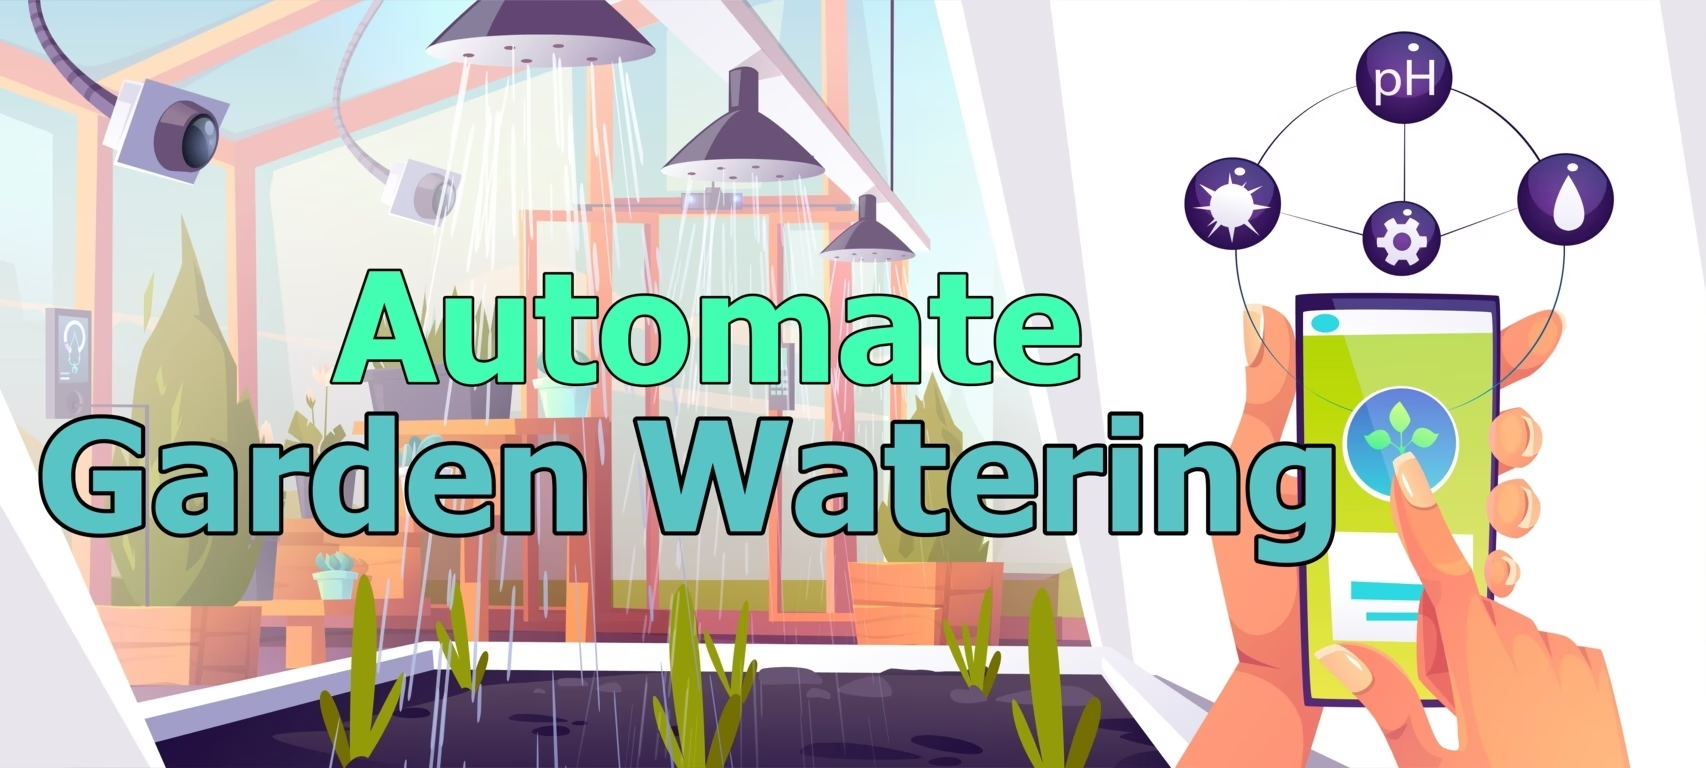
You dream of growing the vegetables in your garden in a hot summer, even on a busy day you manage to free some time to manage the garden by irrigation, giving the necessary manure, cutting, plucking, and more work.
Despite determined dedication to work daily, some days will be missed because you’re stuck at work or halfway through a weekend trip, and a nagging thought creeps in: Did I water the garden?
Every gardener has been there. Skip watering for three days in peak summer and your lettuce bolts, your beans drop their flowers, and your containers turn into dust bowls. Water too much “just to be safe” and you get root rot, fungal disease, and a water bill that makes you wince.
Here’s the good news: you don’t have to choose between a thriving garden and a life outside of it. Learning how to automate garden watering is one of the highest-return upgrades any gardener can make.
A well-designed automatic watering system delivers the right amount of water, at the right time, directly to the roots, whether you’re home, at the office, or on a beach a thousand miles away.
And it isn’t only for tech lovers or people with acres of land. A basic automated setup for a raised-bed vegetable garden can be built in a single afternoon with a handful of parts and no special tools. A smarter system can go further: it checks the weather forecast, reads your soil moisture, and skips a cycle when rain is on the way.
Step 1: Assess Your Garden Before Buying Anything
Spending just 30 minutes assessing your garden saves you buying any unnecessary items for the automation.
Here is how to assess the garden:
Map Your Garden
Map the entire garden on paper or use the apps by measuring the distance to the plants, trees, shrubs, and the lawn areas because of how lengthy pipes or tubes are necessary to supply their water and to check that your water flow can handle the layout.
Group Plants by Watering Needs (Hydrozoning)
Not every plant needs the same amount of water. Trees need more than the small plants. Similarly, thirsty tomatoes, cucumbers, and leafy greens don’t belong on the same watering schedule as rosemary, lavender, or established shrubs.
Group plants with similar needs into zones. Each zone can then run on its own schedule, so nothing gets drowned or parched.
Know Water Pressure and Flow Rate
If you use the tap water or any other water source, use the pressure gauge to measure the water pressure to know which type of irrigation system you can install.
Flow determines how many plants or emitters one zone can serve. As a rule of thumb, don’t use more than about 70–80% of your available flow on a single zone. That’s your design budget.
Know Your Soil
Knowing soil well is easy to determine which irrigation system is needed, like sandy soil drains fast and needs more frequent, shorter watering. Clay holds water longer but absorbs it slowly, so it needs slower, longer cycles with rest periods to avoid runoff. Loam sits comfortably in the middle.
A quick squeeze test tells you a lot: a handful of moist sandy soil crumbles apart, while clay forms a sticky ribbon.
Step 2: Choose Your Watering Method
This is the crucial step, choosing the suitable irrigation method for the garden water requirement and also your preferences make irrigation effective.
Also, you don’t have to choose only one irrigation method; each method has its place, and many gardens combine two or three irrigation methods.
Drip Irrigation (Best overall for Most Gardens)
Drips have all the features and benefits most of the garden needs.
It slowly releases the water through the built-in emitters or add-on emitters right to the root zone of the plant.
It’s efficient, precise, expandable, and ideal for vegetable gardens, flower beds, shrubs, fruit trees, and containers.
Soker Hose
This irrigation method also slowly recesses the water but not directly to the root zone; instead, the entire hose is porous, weeping the water.
Soaker hoses are cheap and quick to lay through a bed.
Micro Sprinkler or Sprayers
Micro sprinklers require a bit more water pressure than the drip needs because small sprayers cover the modest area.
They work well for dense plantings, groundcovers, and flower beds.
Pop-Up and Rotor Sprinkler
Pop-Up and the Rotor sprinkler cover more area and need high water pressure requirements.
Both are suitable for the lawn management and wide open areas where pop-up sprinklers buried under ground only come up when water pressure threshold meets.
Self-Watering Containers, Ollas, and Wicking Beds
These are low-tech irrigation methods that do not need any water pressure requirement or special tools.
Ollas are unglazed clay pots buried in the soil that release water as the surrounding soil dries.
Wicking beds have a hidden water reservoir below the soil. Self-watering planters store water in a base reservoir.
Quick Comparison
| Method | Water Efficiency | Best For | Difficulty | Approx, Cost |
|---|---|---|---|---|
| Drip line & Emitters | Very High | Veggies, beds, trees, pots | Easy – Moderate | Low – Medium |
| Soaker Hose | High | Raised beds, rows | Very Easy | Low |
| Micro Sprayers | Medium-High | Flower Beds, Groundcovers | Easy | Low – Medium |
| Pop-Up / Rotor Sprinkler | Medium | Lawns | Moderate | Medium – High |
| Ollas / Wicking / Self-watering | Very High | Small beds, pots | Easy | Low |
Step 3: Pick the Right Timer or Controller
Timers and controllers are the brain to automate garden watering systems.
There are many types of controllers available in the market, from simple to complex and from analog to digital, so it’s up to you to choose the best one.
Mechanical Timers
Simple timer with no batteries, you turn the knob to set how long the water runs.
Best for: Someone who wants a basic solution and doesn’t mind adjusting things manually.
Limitation: Does not have the automation and the rain awareness or fine scheduling; usually run one at the time.
Digital Hose-End Timers
This is the battery-powered timers installed to your hose tap. Some timers offer multiple zones support.
Best for: Small-medium gardeners, renters, beginners, and anyone who wants a no-plumbing solution.
Limitation: Battery replacement, limited weather intelligence.
Smart Wi-Fi Controllers
These controllers let you control the irrigation from the mobile app and can pull the weather data to analyze the rain or snow to skip or start the watering, and adjust the schedule seasonality.
Best for: Larger gardens, multi-zone setups, and people who love data (and saving water).
Limitations: Higher cost, need Wi-Fi coverage where the controller is installed, and some setups need a power source.
Solar Powered Controllers
Good choice when the main power isn’t available. A small solar panel keeps the battery charged.
Best for: Remote plots, allotments, and off-grid gardens.
Step 4: Add Sensors to Automate
Sensors help to automate the irrigation when there is necessary, avoiding over-irrigation and saving water.
There are different types of sensors available.
Soil Moisture Sensor
Soil moisture sensors measure soil moisture level. If the moisture level is not up to the required threshold, they command to start the irrigation.
Remember, placement matters: put the probe in the root zone of a representative plant, not right next to an emitter. For a deeper look at choosing and placing them.
Rain Sensors
Rain sensors detect the rain to stop the irrigation; in these sensors, some are wired to the controller; others are wireless.
Smart controllers can achieve the same result using online weather forecasts.
Freeze Sensors
If you live in a place where nights are freezing cold, which damages the irrigation setup, then the freeze sensors stop the irrigation before it gets frozen, coating everything in ice or bursting pipes.
Flow Sensors
This is the advanced sensor stopping the irrigation when the abnormal water flow is detected (a broken line or a stuck valve) before you flood the yard or lose hundreds of gallons.
Wind Sensors
These sensors are helpful for the sprinkler system. Both sprinklers and rain guns pause the irrigation system from the high wind to prevent drift.
You don’t need all of these. For most home gardens, a rain sensor or smart weather feature plus a soil moisture sensor covers 90% of the benefit.
Step 5: Design Your Layout and Gather Your Part
Now, with the necessary tools, the entire garden map, and plant groupings, you can now lay out the system.
Design Rule of Thumb
Never mix sprinklers and drip on the same zone. They need completely different pressure and run times.
- Space inline drip emitters or dripline holes to match your soil: about 12 inches (30 cm) for sandy soil and 18 inches (45 cm) for clay.
- For vegetable rows, run one or two drip lines per row, depending on bed width.
- For trees and large shrubs, use a ring of tubing or several emitters spaced around the drip line of the canopy.
- Don’t put the drip or soaker pipes on the walking path; it will get damaged.
- Give a high priority to choosing the irrigation system based on the water need of a plant.
Step 6: Program the Right Watring Schedule
An automated system with the wrong schedules is just the faster way to make mistakes, even though you’ve installed the necessary smart controllers to handle much of this automatically through seasonal adjustment or weather-based scheduling, but you should still check in on your garden regularly, especially during the first few weeks.
The goal is deep, infrequent watering that encourages roots to grow downward, not shallow, daily sips that keep roots near the surface.
When to Water
Early morning is the best time to irrigate, usually between 4 and 8 AM.
During the morning period, temperatures are cooler and the plant has all day to use the moisture.
Evening watering can leave foliage damp overnight, which invites disease. Midday watering wastes water through evaporation.
How Much to Water
A general starting point for vegetable and flower gardens is about 1 inch (25 mm) of water per week, including rainfall. In hot, dry, or windy conditions, or for sandy soil, that can rise to 1.5 inches (38 mm) or more.
Drip systems don’t deliver water in inches, so you’ll calculate run time from your emitter output and spacing. Check the actual results with a trowel or soil probe: water should penetrate 6 to 8 inches (15–20 cm) deep for most vegetables.
Adjust for Soil and Season
- Sandy soil: Shorter runs, more frequently.
- Clay soil: Longer runs but split into two or three short cycles with breaks so water can soak in without pooling.
- Spring and fall: Cut run times by 30–50%, since plants need less.
- Summer heat waves: Add a cycle or increase duration by 20–30%.
- Winter: Turn the system off in freezing climates, and drain the lines.
Common Mistakes When Automating Garden Watering (and How to Avoid Them)
Skipping the pressure regulator. High pressure pops fittings off drip tubing. Always regulate.
Forgetting the filter. Clogged emitters or pipes are the number one maintenance headache. A cheap filter prevents most of them.
Overwatering “just in case.” More water is not better. Soggy soil suffocates roots. Use sensors or a quick soil check to fine-tune.
Setting it and forgetting it, completely. Automation reduces your workload but doesn’t eliminate it. Inspect the system weekly during the season.
Mixing plants with different needs in one zone. One schedule can’t serve both cactus and cucumbers. Group by water needs.
Watering the leaves. Overhead sprinklers on vegetables encourage disease. Aim water at the soil.
Ignoring rain. A system that runs during a downpour is wasting water and drowning plants. Add a rain sensor or a smart controller.
Overloading a zone. Too many emitters for your flow rate means weak, uneven output. Check your GPM math before adding “just one more” bed.
Last Words…
These are the steps and the tools you’ll need to automate the garden irrigation.
There are some common mistakes you’ll need to avoid to get the benefits like:
- Healthier, more productive plants
- Water Savings
- Lower Water Bills
- Fewer Weeds
- Less Disease
- Freedom to travel
- Better use of your time
Remember, automating your garden watering doesn’t require an engineering degree or a huge budget. It requires a little planning, the right parts, and a willingness to fine-tune as you learn how your garden behaves.
Leave a Reply